
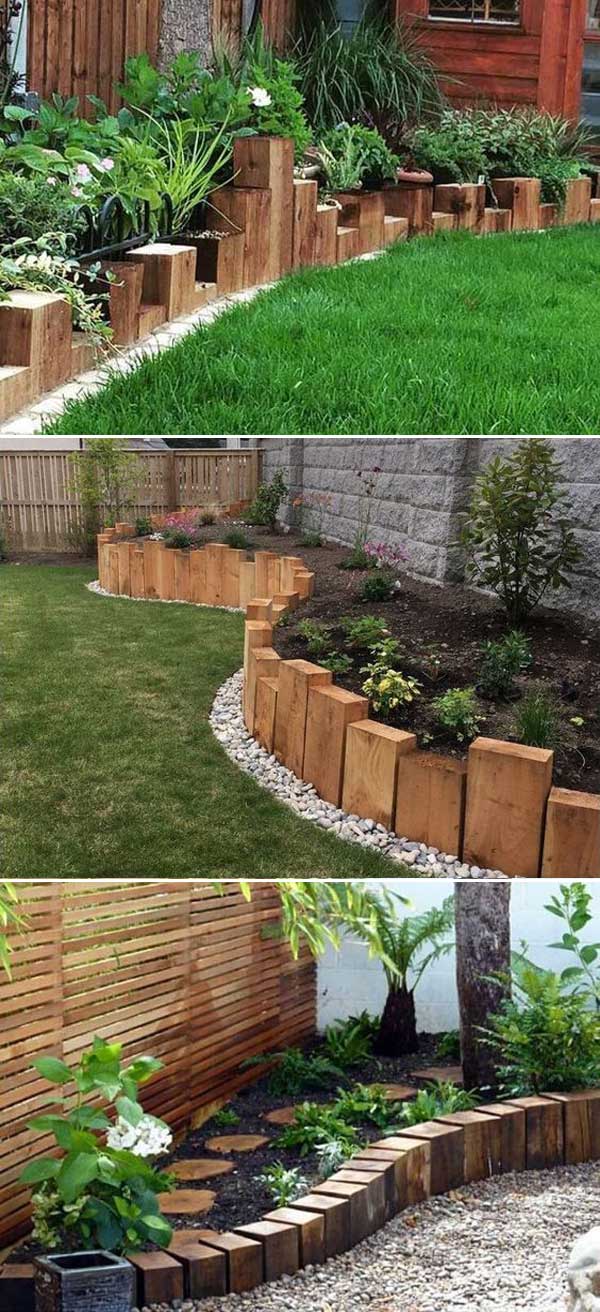
Vertical sleepers creating a lovely staggered wall with planting. Sloped garden, Garden design
2. Simple Garden Bed Edging by DIY Joy. Image Credit: DIY Joy. Check Instructions Here. Tools and Materials: Miter saw, Drill, 4×4 wood pieces, 2×4 wood pieces, Wood decking, Screws, Pea gravel. Difficulty: Intermediate. One of the more attractive wood edging plans is also one of the easiest to install.
Top 7 Ideas For Using Railway Sleepers In The Garden
A'DAM LOOKOUT is located on top of the A'DAM Tower in Amsterdam North. For you daredevils and thrill seekers, get your adrenaline rush with Europe's highest swing 'Over The Edge' and dangle 100 metres above the ground, back and forth over the edge of the tower with Amsterdam below your feet. Or take a seat in the Amsterdam VR ride, a.

Howto & 19 Ideas for Railway Sleepers Garden Edging
Drill about two and a half inches directly into the sleeper. Use a normal drill bit to drill a pilot hole into the railway sleeper inside the 25-millimeter hole. The goal of the pilot hole is to make it easier for the screw to be driven into the wood. Drive the four-inch wood screw into the pilot hole.

Sleeper garden edge joins Garden edging, Sleepers in garden, Garden
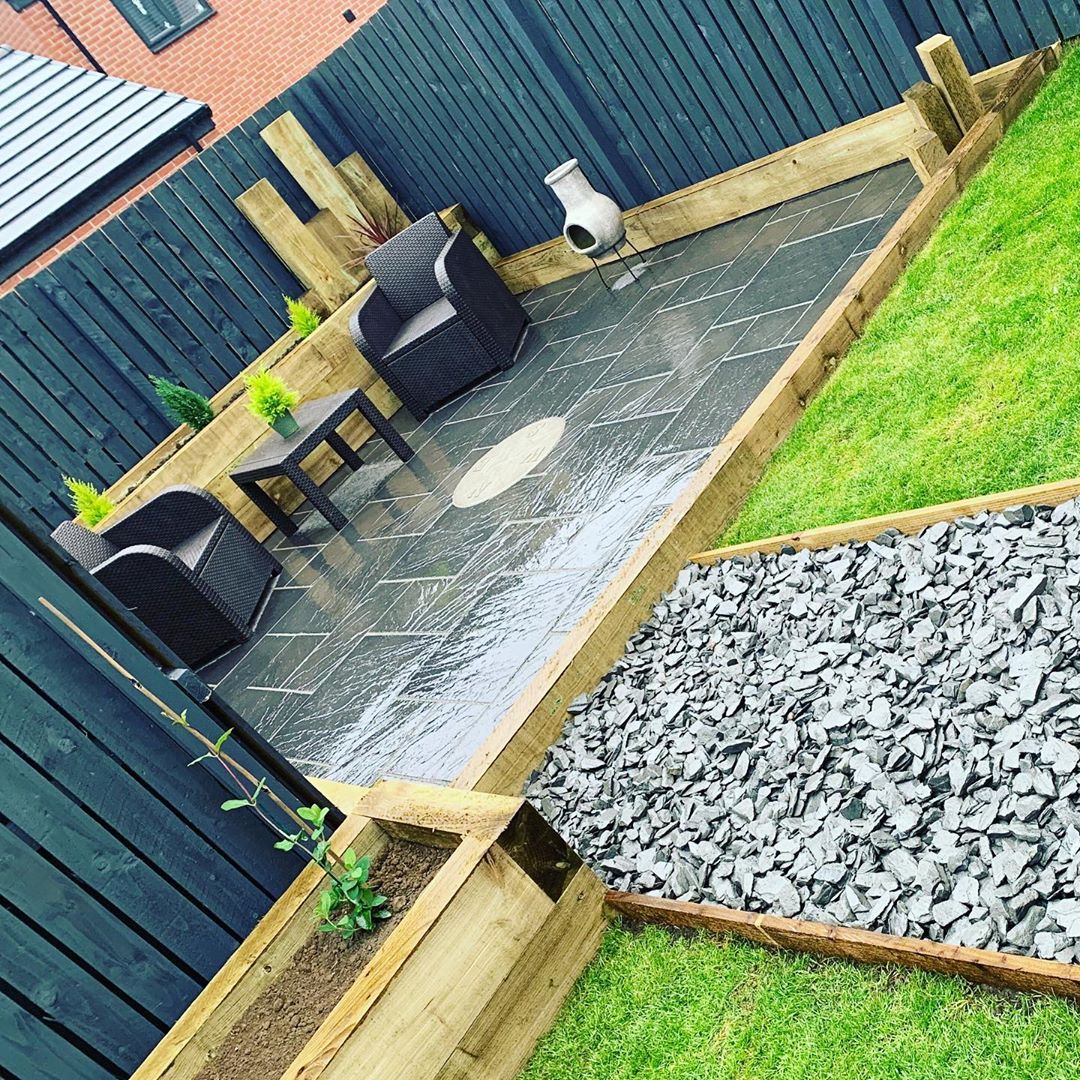
Installing new railway sleepers into a small garden as edging, and creating a gravel stone area using 20mm gravel.

Timber Sleepers, Railway Sleepers, Wooden Garden Sleepers Travis Perkins Mod... Modern
Use a hand saw or power saw such as a mitre saw. Butt the edge up to the first sleeper and check its level. Keep adding sleepers until the first level is finished and again, make sure they are level. 4. Connect and secure your sleepers. To secure the sleepers into place you can use screws and brackets.
Railway sleeper garden edging
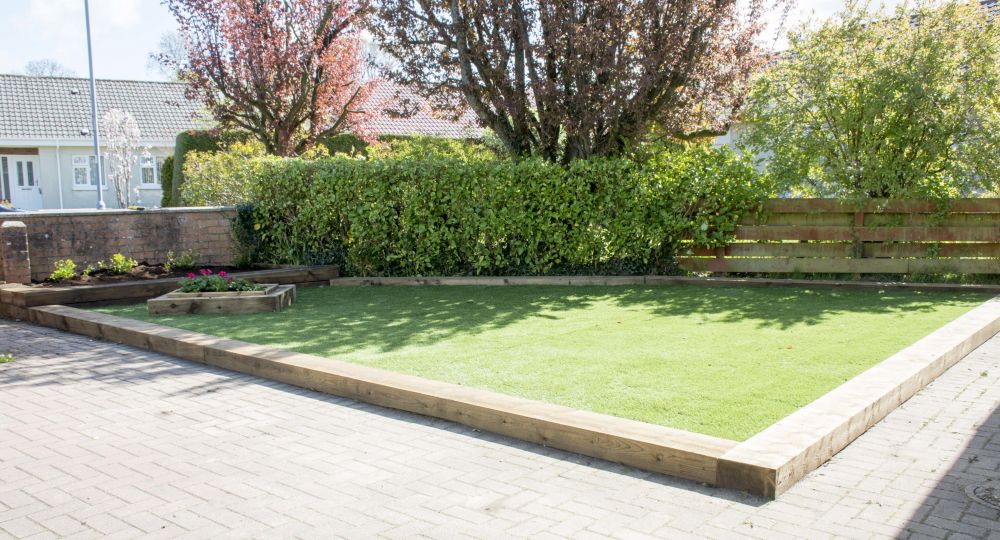
The sleepers can also be made into garden beds for planting vegetables. Trust wood and macrocarpa are suitable types of wood for this purpose. 3) Lawn edging. Sleepers are used as garden or lawn edges for a clean and sorted appearance. This also makes lawn mowing easier. 4) Steps

Concrete Sleeper Garden Edging lyanalilboogie
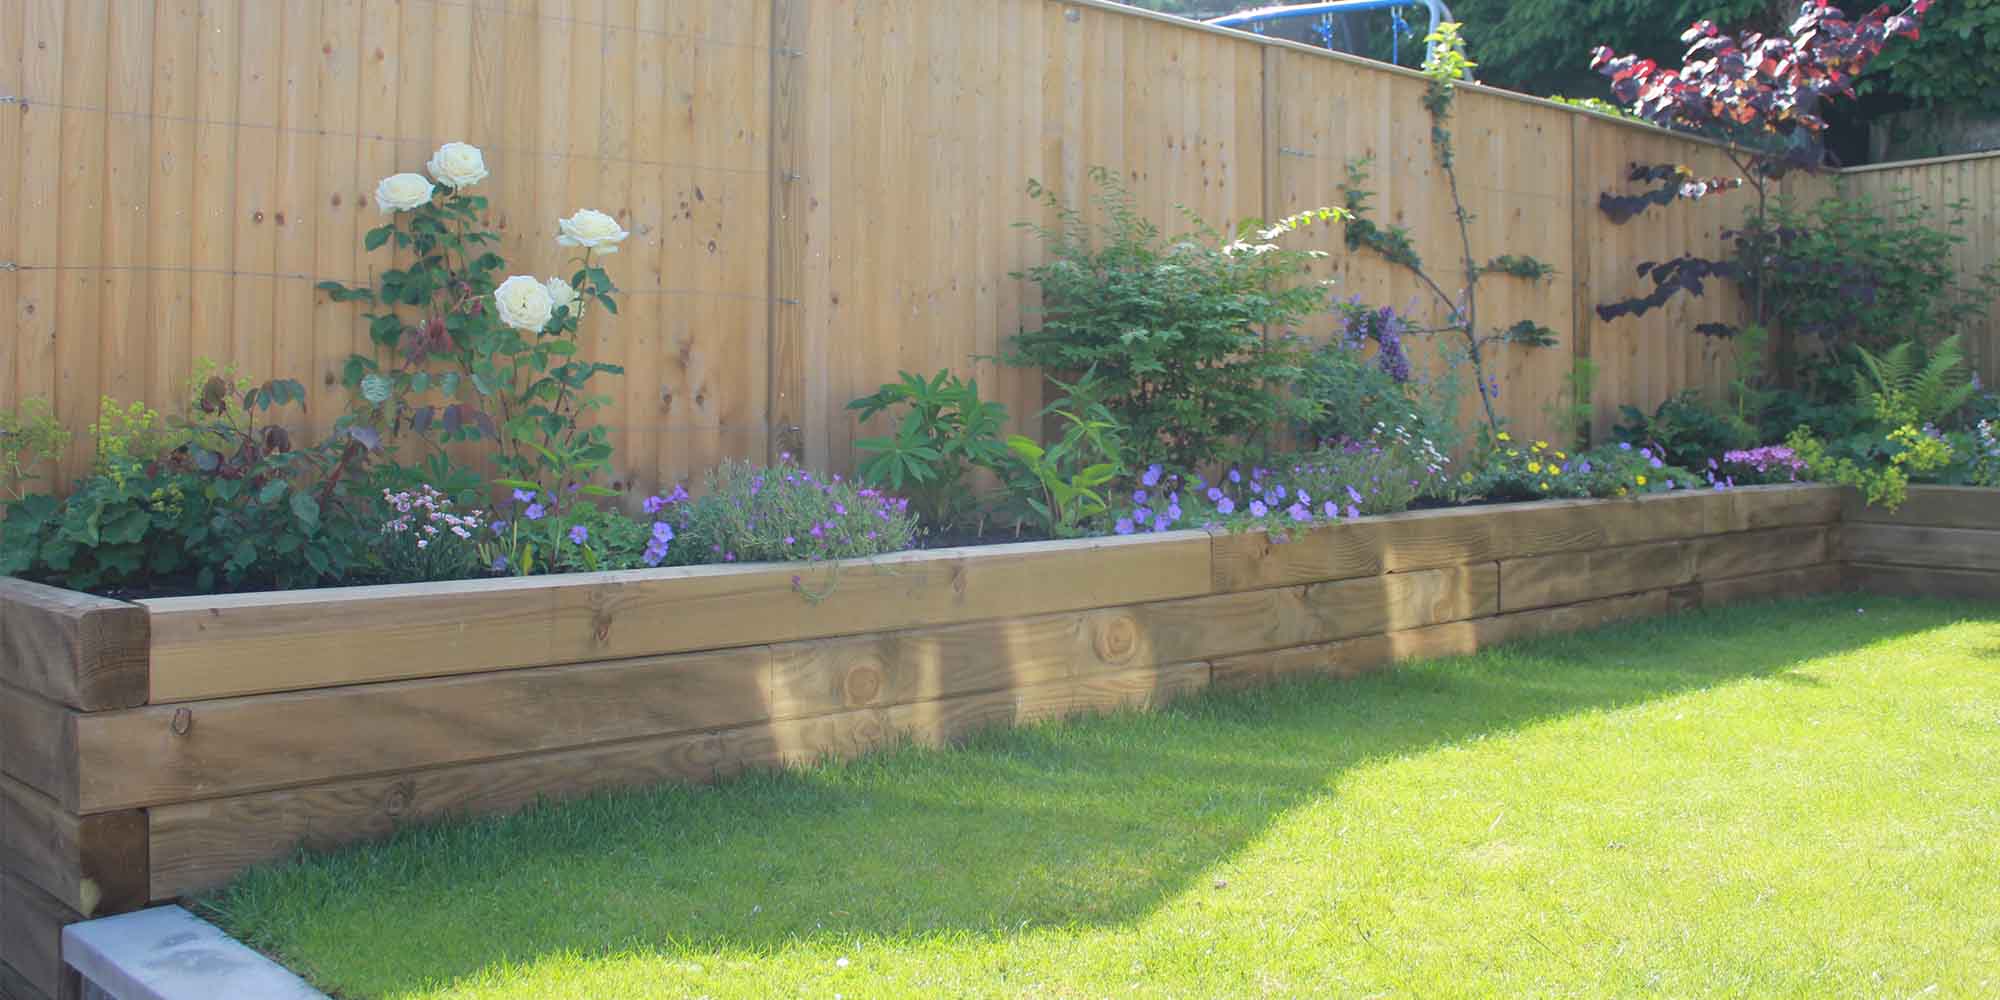
1. Border your veg beds. Garden sleeper ideas are an easy yet stylish solution for raised beds. (Image credit: Paul Maguire/Alamy Stock Photo) Building raised beds is made easy with the use of garden sleeper ideas. They make the perfect base for growing all your own veggies at the bottom of your plot, and are durable and sturdy enough to last.

10 Railway Sleepers Garden Edging Ideas Garden Patch
Lay the First Sleeper: Place the first sleeper in the trench. Use a spirit level to ensure it's perfectly horizontal. Securing the Sleeper: If you're laying one or two sleepers for garden edging, you might not need extra support. For raised beds or taller structures, secure the sleeper with steel rod pins or landscaping screws.

Timber garden edging, Sleepers in garden, Wooded landscaping
Table of Contents. Choosing the Right Garden Sleeper. Step By Step Guide to Lay Garden Sleepers. Prerequisites. Step 1: Choose the Right Spot to Lay the Garden Sleepers. Step 2: Dig Shallow Trenches around the edges. Step 3: Prepare the Foundation. Step 4: Prepare the Sleepers for the Required Dimensions. Step 5: Connect the Sleepers.

10 Railway Sleepers Garden Edging Ideas Garden Patch
8. Railway sleeper steps. Create easy access to different levels with sleeper steps. Image credit: @ shetland_house. If you have a garden that slopes steeply, you can use railway sleepers to create steps in between terraced areas. This will look quite neat and create easy access to the different levels. 9.

Vertical sleepers as retaining wall or edging Garden Edging, Front Garden, Raised Garden, Diy
Step 2 - Fix the garden sleepers into position. The best way to fix your garden sleepers will vary depending on what you're using them for. For edging and planters, you'll want to dig down a shallow trench to lay the sleepers in. If you're creating a low border you might be able to keep the sleepers in place by fixing a wooden post or.

Rustic Sleepers For a quick and easy garden border Charltons Gates and Fencing Easy garden
Gathering necessary tools and materials (e.g., sleepers, stakes, screws, spirit level, saw) A step-by-step guide to laying sleepers for garden edging. Step 1: Clear and prepare the area. Step 2: Position the sleepers. Step 3: Secure the sleepers with stakes (optional) Step 4: Attach sleepers together. Step 5: Check for level and alignment.

How To Install Timber Sleeper Garden Edging Fasci Garden
Step 2: Measure and cut the sleepers. First, measure the area you want to lay the sleepers on. This will help you determine how many sleepers you'll need. When pre-cutting the wood, keep in mind that the sleepers don't have to be the same height or length. Different sizes can add a more rustic touch to your garden.
Howto & 19 Ideas for Railway Sleepers Garden Edging
3. Lay the sleepers on the surface. After preparing your foundation, lower in the first layer of sleepers on the base in a position of your choice. Whichever position you use, the sleepers should be parallel to the landscape of your garden so that all the edges meet at a perfect angle for easy fixing.
How to build a raised garden bed with sleepers Builders Villa
Fasten the sleepers together by securing sleeper screws at the 90-degree corners. Use two screws per corner to get a rigid frame. You can also use corner brackets to secure the sleepers. If you want a higher edging, add another layer of sleepers on top and secure it to the bottom layer using sleeper screws.

7 Photos How To Install Timber Sleeper Garden Edging And Review Alqu Blog
Sleepers are very popular in the gardening world. They clean up the lawn, creating a defined area between the plants, flowers, vegetables, and grass. It can hide unsightly things like compost, keep flower beds raised, protect vegetable patches from low-lying bugs, and makes the environment beautiful.